Overview
In the previous posts the graphics pipeline and vertex processing were explained. Also, the implementation of the TextureUtil and TexturedCube were covered.
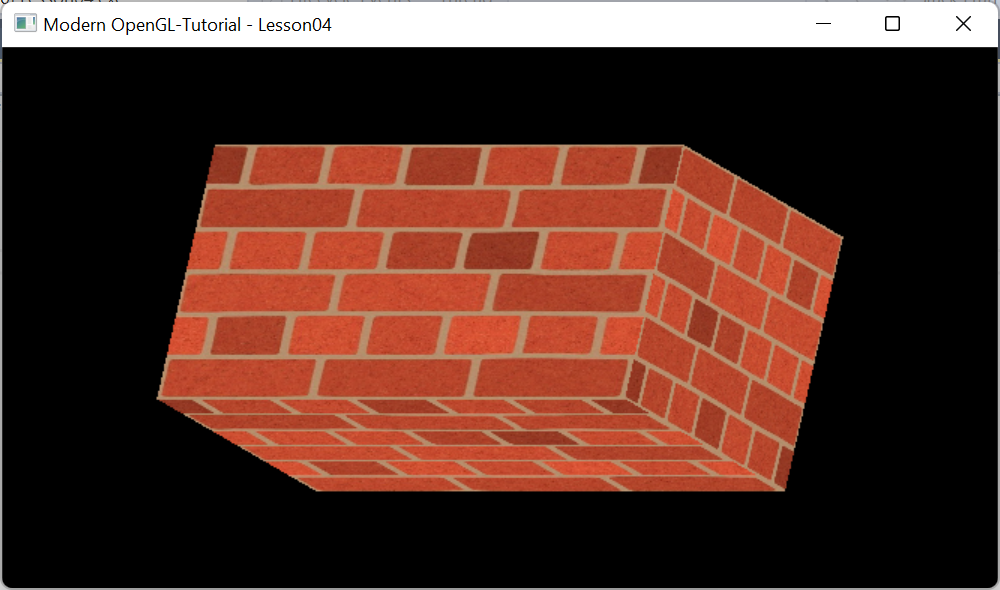
In this post we will try to draw a cube with brick texture as shown above. The cube looks elongated because aspect ratio is not applied.
Details
The purpose of Lesson04 is to create a Window initialized with OpenGL context and draw a cube wrapped with a brick texture.
System class diagram
The scene class overrides camera with an instance of 3DCamera. It has an instance of TexturedCube called cube derived from BaseGeometry class.
cube overrides mesh with an instance of CubeMesh to generate geometry and TextureUtil object to load texture.

Implementation
Scene
The functionality is implemented in the Scene class derived from BaseScene class.

The three methods Init,DrawScene and Cleanup are overridden as below:
The Init method calls
- BaseScene::Init to create hosting window and OpenGL Context.
- It also attaches camera to a ThreeDCamera class object. This camera processes keyboard and mouse inputs as explained earlier.
- It calls init function on the IndexedCube object to populate VBO/EBO buffers and bind them.
- Load textures from the image file
- It also compiles and links shader programs.
The DrawScene method draws the cube with texture wrapped and rotates as per keyboard or mouse inputs.
The Cleanup method releases the resources related to VBO/EBO, Texture related resoruces and shader programs.
Finally the WM_CLOSE event is handled in OnCloseWindow function and the window is destroyed and application is shutdown when the window is closed or Escape key is pressed.
#include "Scene\BaseScene.h"
#include "Scene\Camera\ThreeDCamera.h"
#include "Geometry\Cube\TexturedCube.h"

class Scene:public BaseScene
{
public:
	//message handler
	BEGIN_MSG_MAP(Scene0)
		MESSAGE_HANDLER(WM_CLOSE, OnCloseWindow)
		CHAIN_MSG_MAP(BaseScene)
	END_MSG_MAP()

	//override
	int Init(RECT rect, WCHAR *windowname)
	{
		//create host window and context
		BaseScene::Init(rect, windowname);

		//attach mouse keyboard input handler
		camera = new ThreeDCamera(m_hWnd);

		//Create cube an set texture filename
		cube.Init(0, R"(..\resources\textures\bricks2.jpg)");


		return 0;
	}

	//release resources
	void Cleanup()
	{
		cube.Cleanup();
		delete camera;

	}

	//draw the scene
	void DrawScene()
	{
		glClear(GL_COLOR_BUFFER_BIT | GL_DEPTH_BUFFER_BIT);
		//get model view projection matrix.
		//only model is modified
		//view and projection will be identity matrix
		SceneCamera()->augumentModelMatrix(cube);

		cube.Draw();

		SceneCamera()->MM.Reset();

	}

	//Close the window
	LRESULT OnCloseWindow(UINT uMsg, WPARAM wParam, LPARAM lParam, BOOL& bHandled)
	{
		bHandled = TRUE;
		DestroyWindow();
		PostQuitMessage(0);
		return 0;
	}

	inline ThreeDCamera*  SceneCamera()
	{
		static auto ret = dynamic_cast<ThreeDCamera*>(camera);
		return ret;
	}

private:
	TexturedCube cube;

};
Application
Scene class is hosted main.cpp. which creates the scene object and displays it. Message pump is added to process windows messages.
#include "Scene.h"

Scene scene;

int WINAPI WinMain(HINSTANCE inst, HINSTANCE prev, LPSTR cmd_line, int show)
{
	scene.Init(RECT{ 100, 100, 780, 500 }, L"Modern OpenGL-Tutorial - Lesson04");
	scene.ShowWindow(show);

	MSG msg;
	while (GetMessage(&msg, 0, 0, 0))
	{
		TranslateMessage(&msg);
		DispatchMessageA(&msg);
	}

	return 0;
}
Input dialog
The input dialog as shown below can be used to change settings and understand lighting.

Output
The output looks as shown in the top. The cube is rotated by 20 degrees pitch and 20 degrees yaw. The camera position at the origin looking down on -Z axis or the back face of the cube.
To rotate the cube X,Y and Z keys can be used. They rotate respectively pitch, yaw and roll the cube by 10 degrees.
In the next post we shall create a colored cube with transformation.
No comments:
Post a Comment